Hardwood Refinishing: What Does It Entail?
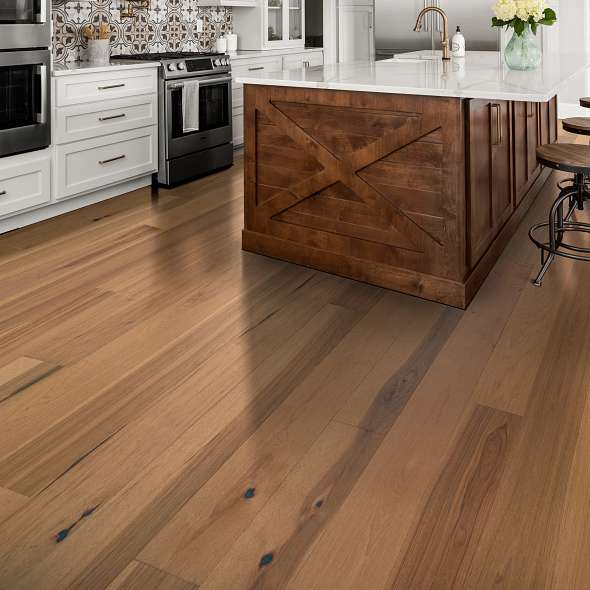
Don’t you just love hardwoodfloors? There is something so warm and inviting about them. Hardwood was the standard for flooring in homes from a different era. Today, they are an optional upgrade. And an expensive one at that, so it’s important to take good care of them.

Regardless of whether your home was built in 1920 or 2010, perhaps it’s time to tend to your hardwoods. A few years (or perhaps decades) of life and even the best quality wood floors could use a little facelift. Pets, kids, spills, stains, foot traffic and general grime take a toll. Of course, you could hide your hardwoods under carpet or LVT but another option is to refinish them.
Refinishing hardwood floors isn’t quick and easy, but it’s possible to do it yourself. If you have the budget to hire a professional to redo your floors, that is obviously the easiest. Since not everyone can afford professional help, here are the basic steps of refinishing hardwood floors. You can decide if this is something you want to tackle yourself, or leave for the pros.
Step One: Prep the room. Before you start, empty the room of everything. This will enable you to see the whole floor and assess stains, wear and damage. If you have floor moulding, remove that as well and keep track of where the pieces go by numbering them. It will make them easier to put back later.
Step Two: Fix the issues. Find and repair nail pops by hammering them down. This is also a good time to fix any squeaky spots by adding small nails to secure the problem boards. Locate gouges in the floorboards and fill them with wood filler or putty, using a putty knife.
Step Three: Sand the floor. You will need to rent a drum sander, unless you are lucky enough to own one. They resemble industrial vacuums and will be used to sand the entire floor multiple times with various grits of sandpaper pads to remove surface dirt, imperfections, and old finish. Make sure to sweep and vacuum after sanding. Then sand again with a finer grit pad to ensure that the floors are smooth and ready for finishing.
Step Four: Sand edges and corners using a sanding edger. Another specialized tool which can be rented, you will use it to get into closets, corners and along walls where the drum sander could not reach. Sweep again after sanding.
Step Five: Buff the floor with a floor buffer fit with a fine-grit screen pad. Yet another tool you can rent, the floor buffer is the last step in floor preparation and is worth the trouble! It is used to remove anything left behind by the sanders and buff out fine lines.
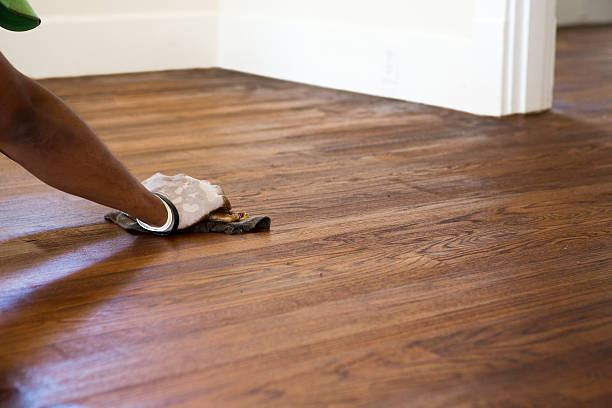
Step Six: Remove all the dust: Give your floors one last sweep and vacuum thoroughly. As a final step, consider a tack cloth, which is a sticky rag that will collect any dust that was missed by the vacuum.
Step Seven: Stain your floors. Finally! Working in small sections of about three feet squared, apply the stain of your choice in the direction of the wood grain using a foam applicator pad. Wipe away excess stain with a clean rag as you go.

Step Eight: Varnish your floors. Once the stain is completely dry, use a lambswool applicator to apply an oil based polyurethane in the gloss of your choice. Consider a light sand (and another go-round with the tack cloth) when the floors are dry, then repeat the varnish process up to three times.
Step Nine: Replace the mouldings, then stand back and admire your floors!
If refinishing your floors sounds like an exciting way to spend a few weekends, it’s totally doable to DIY with the right rental tools and patience. If the whole process makes you want to collapse from exhaustion, save your time and energy! Contact the helpful folks at The Design House in Denton, TX instead. They would be happy to help you out with more info about the process, options, and pricing.

